
Free roof and ceiling hatch patterns
Three-tab shingles, slate, clay tiles and standing seam for roofs in elevation, and 2 × 2 ft, 2 × 4 ft, 600 × 600 and 600 × 1200 mm suspended ceiling grids for reflected ceiling plans.
- patterns
- 8
- works in
- AutoCAD · Revit · Bluebeam
- units
- mm + inch
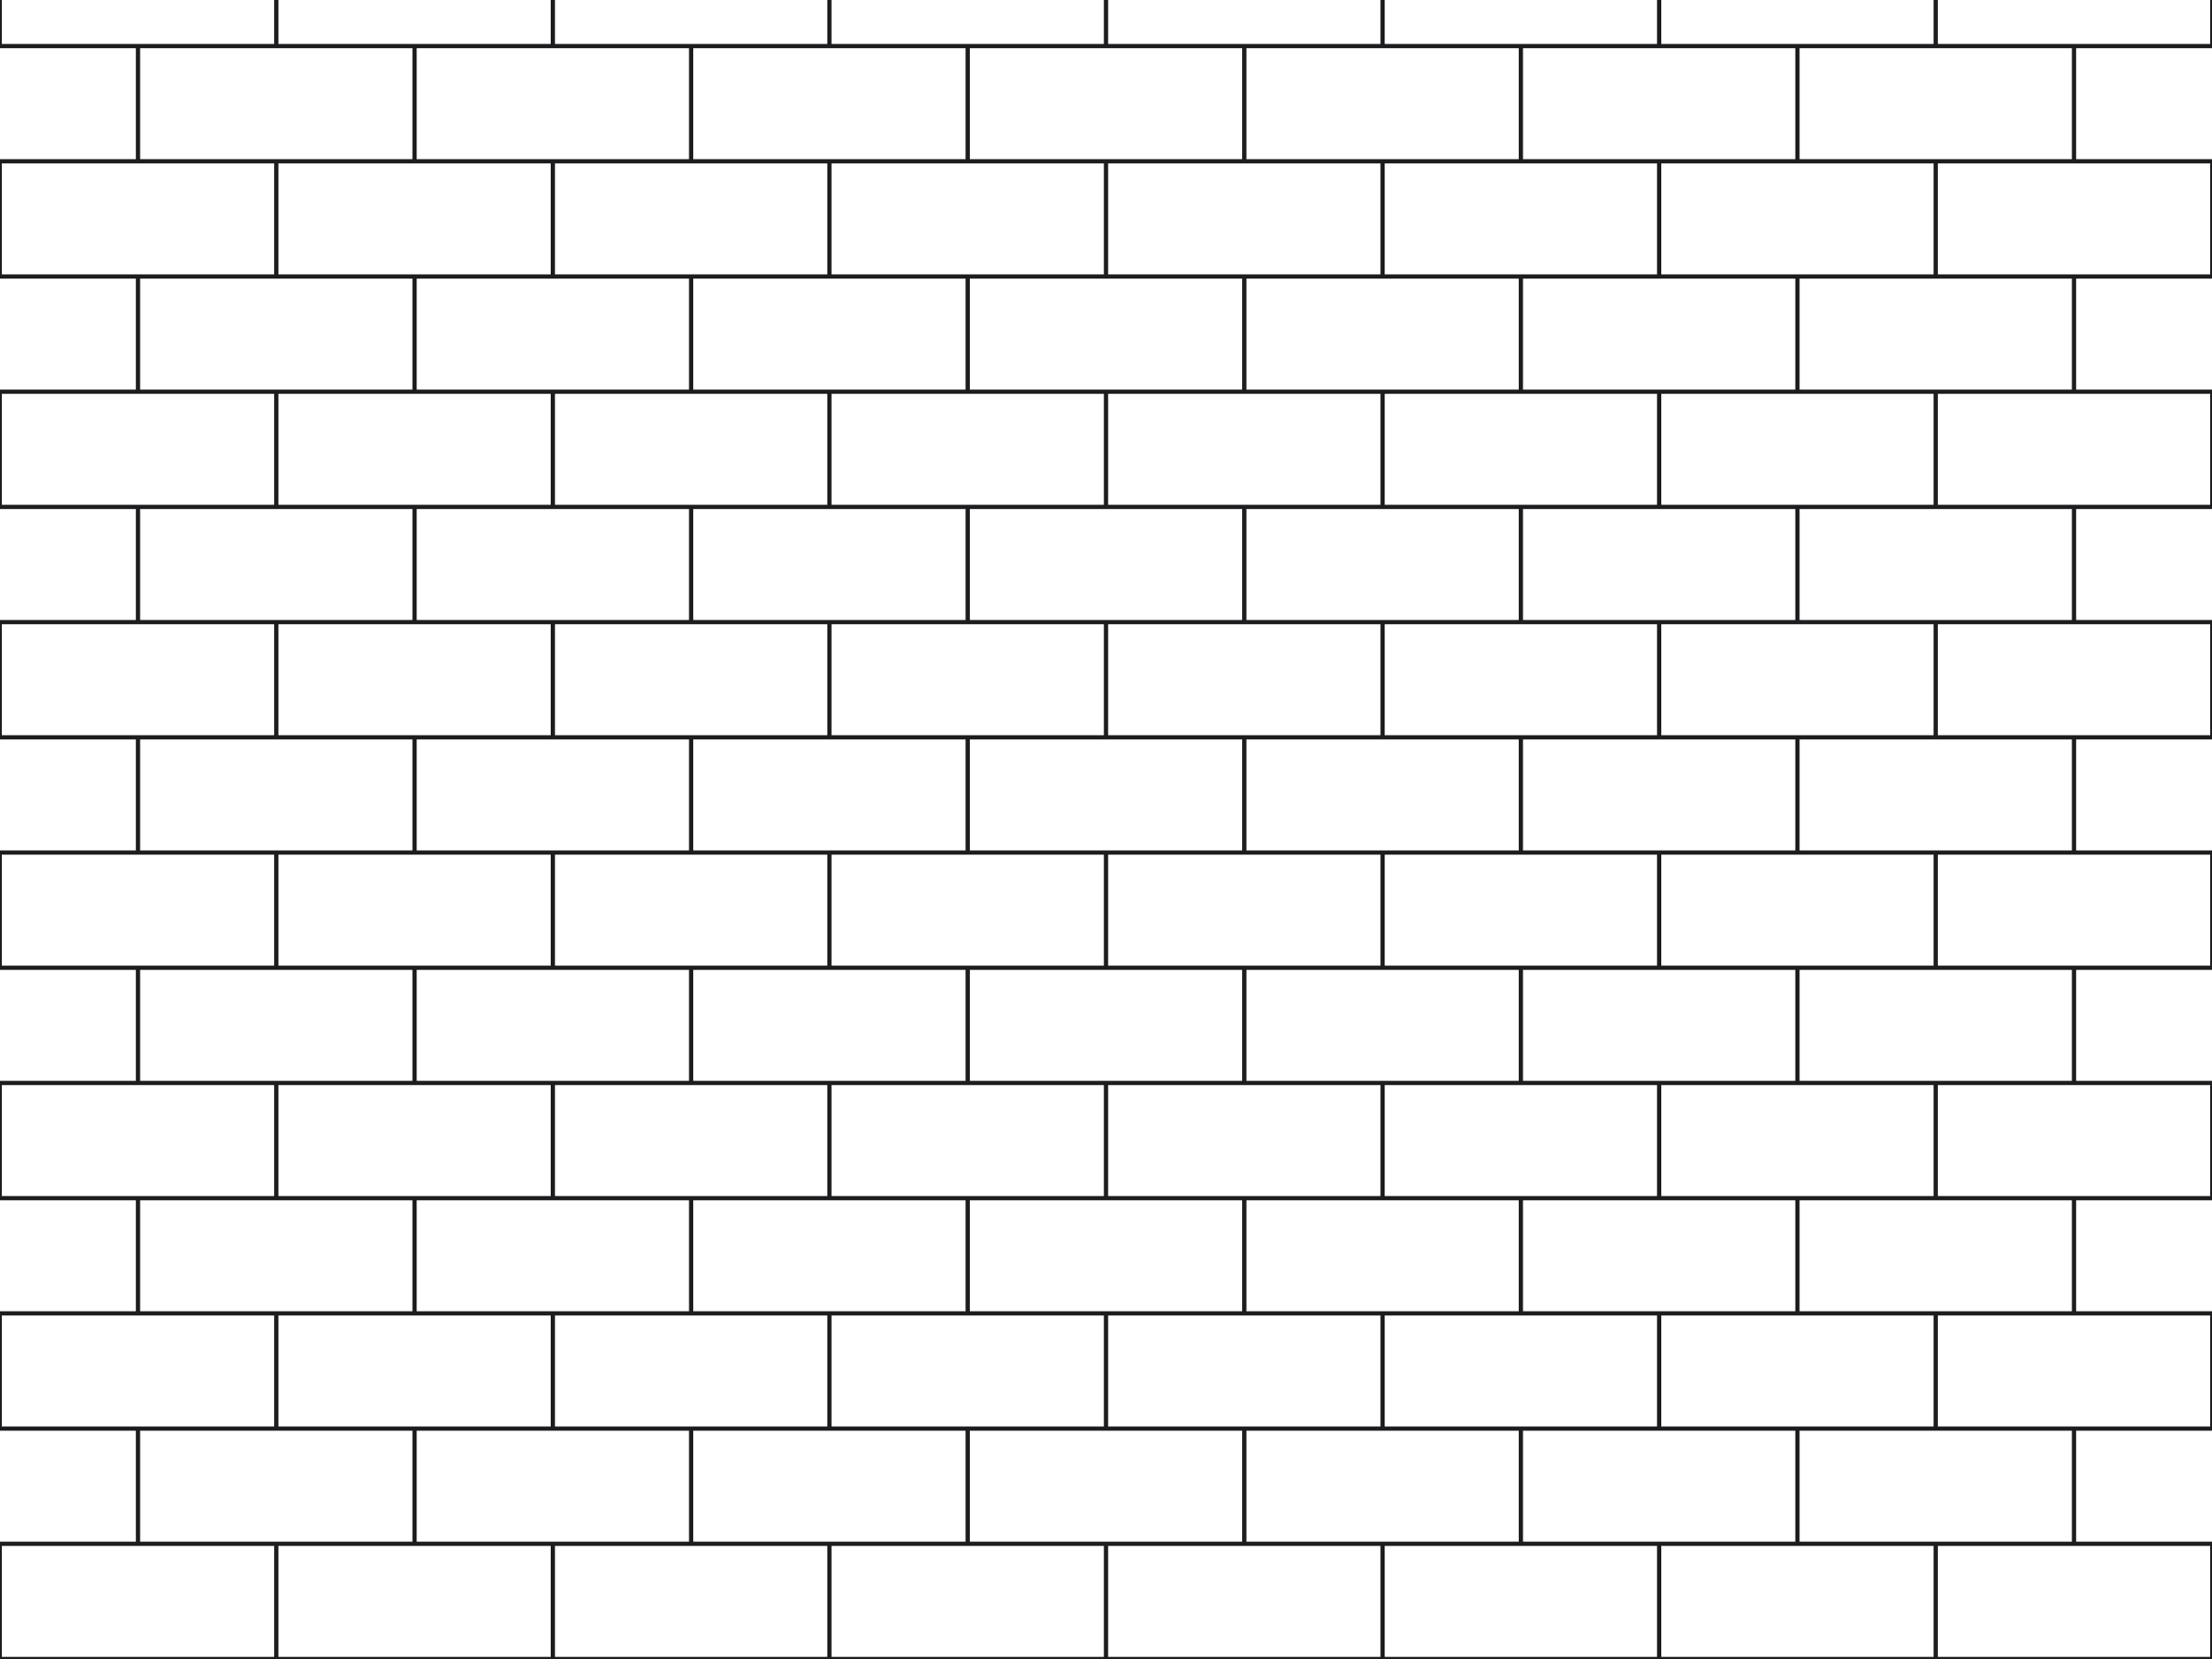 ModelAsphalt shingles, 3-tab12 in tabs, 5 in exposure
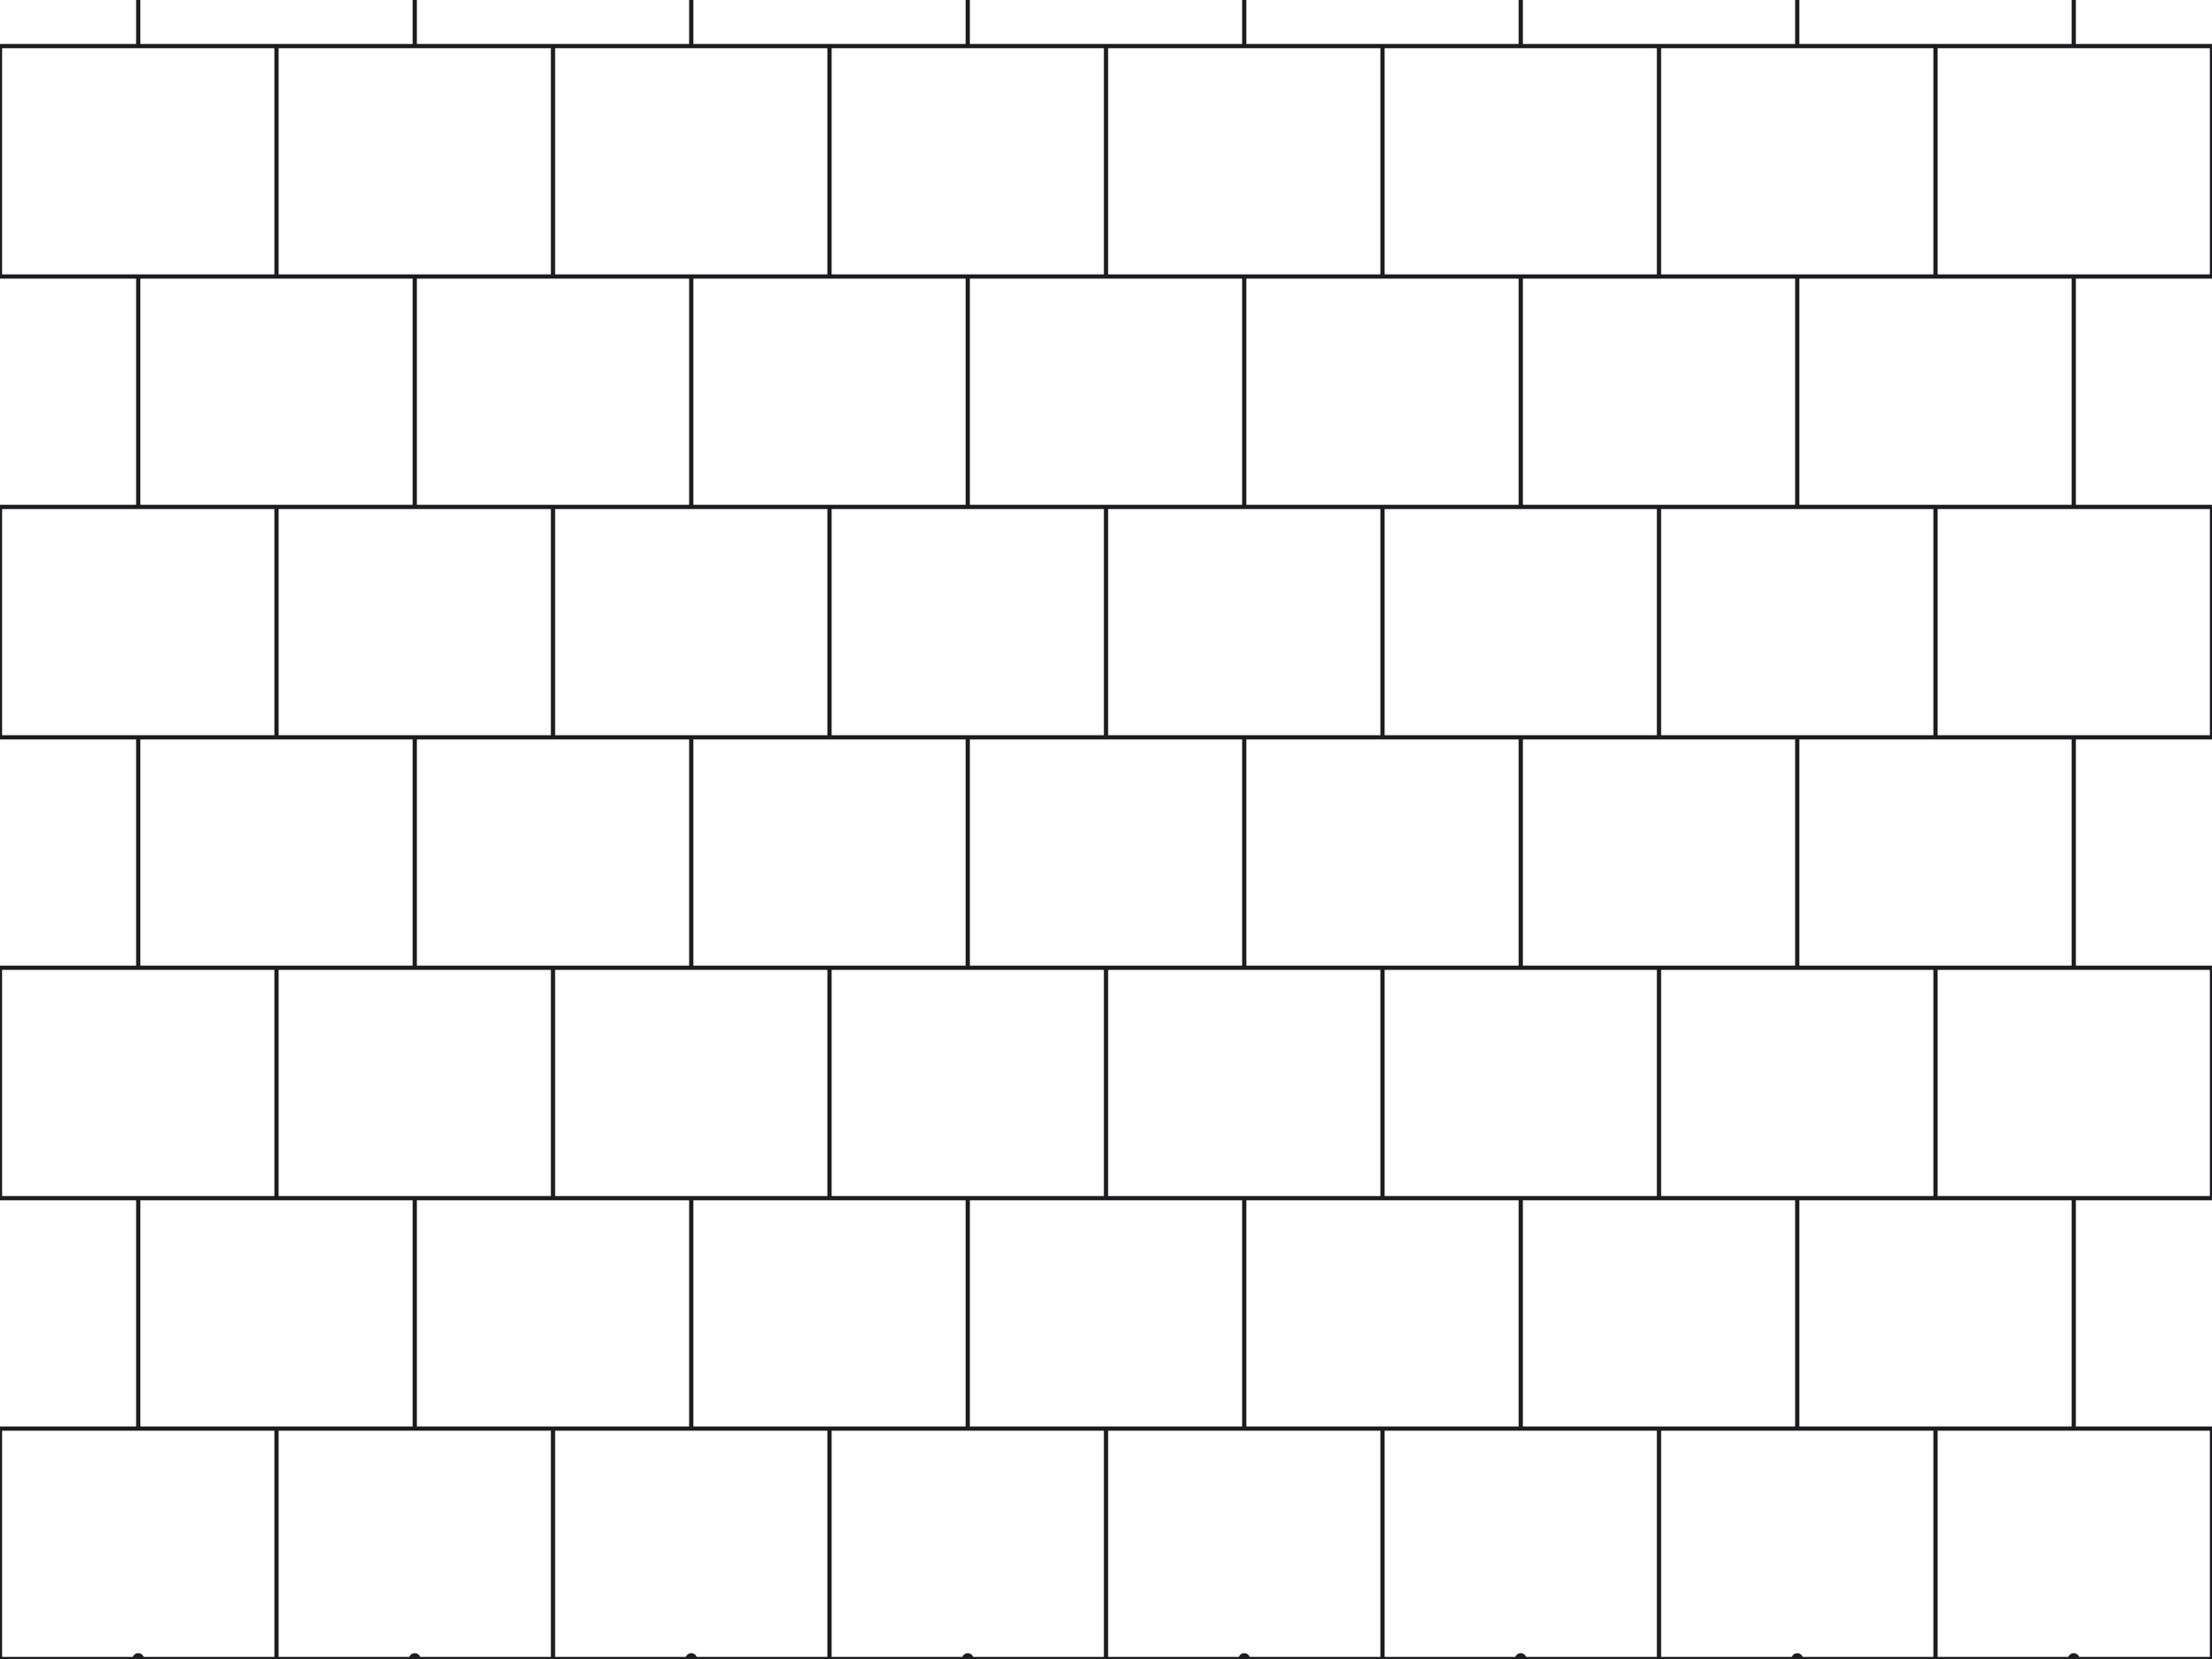 ModelSlate roof300 mm slates, 250 mm gauge
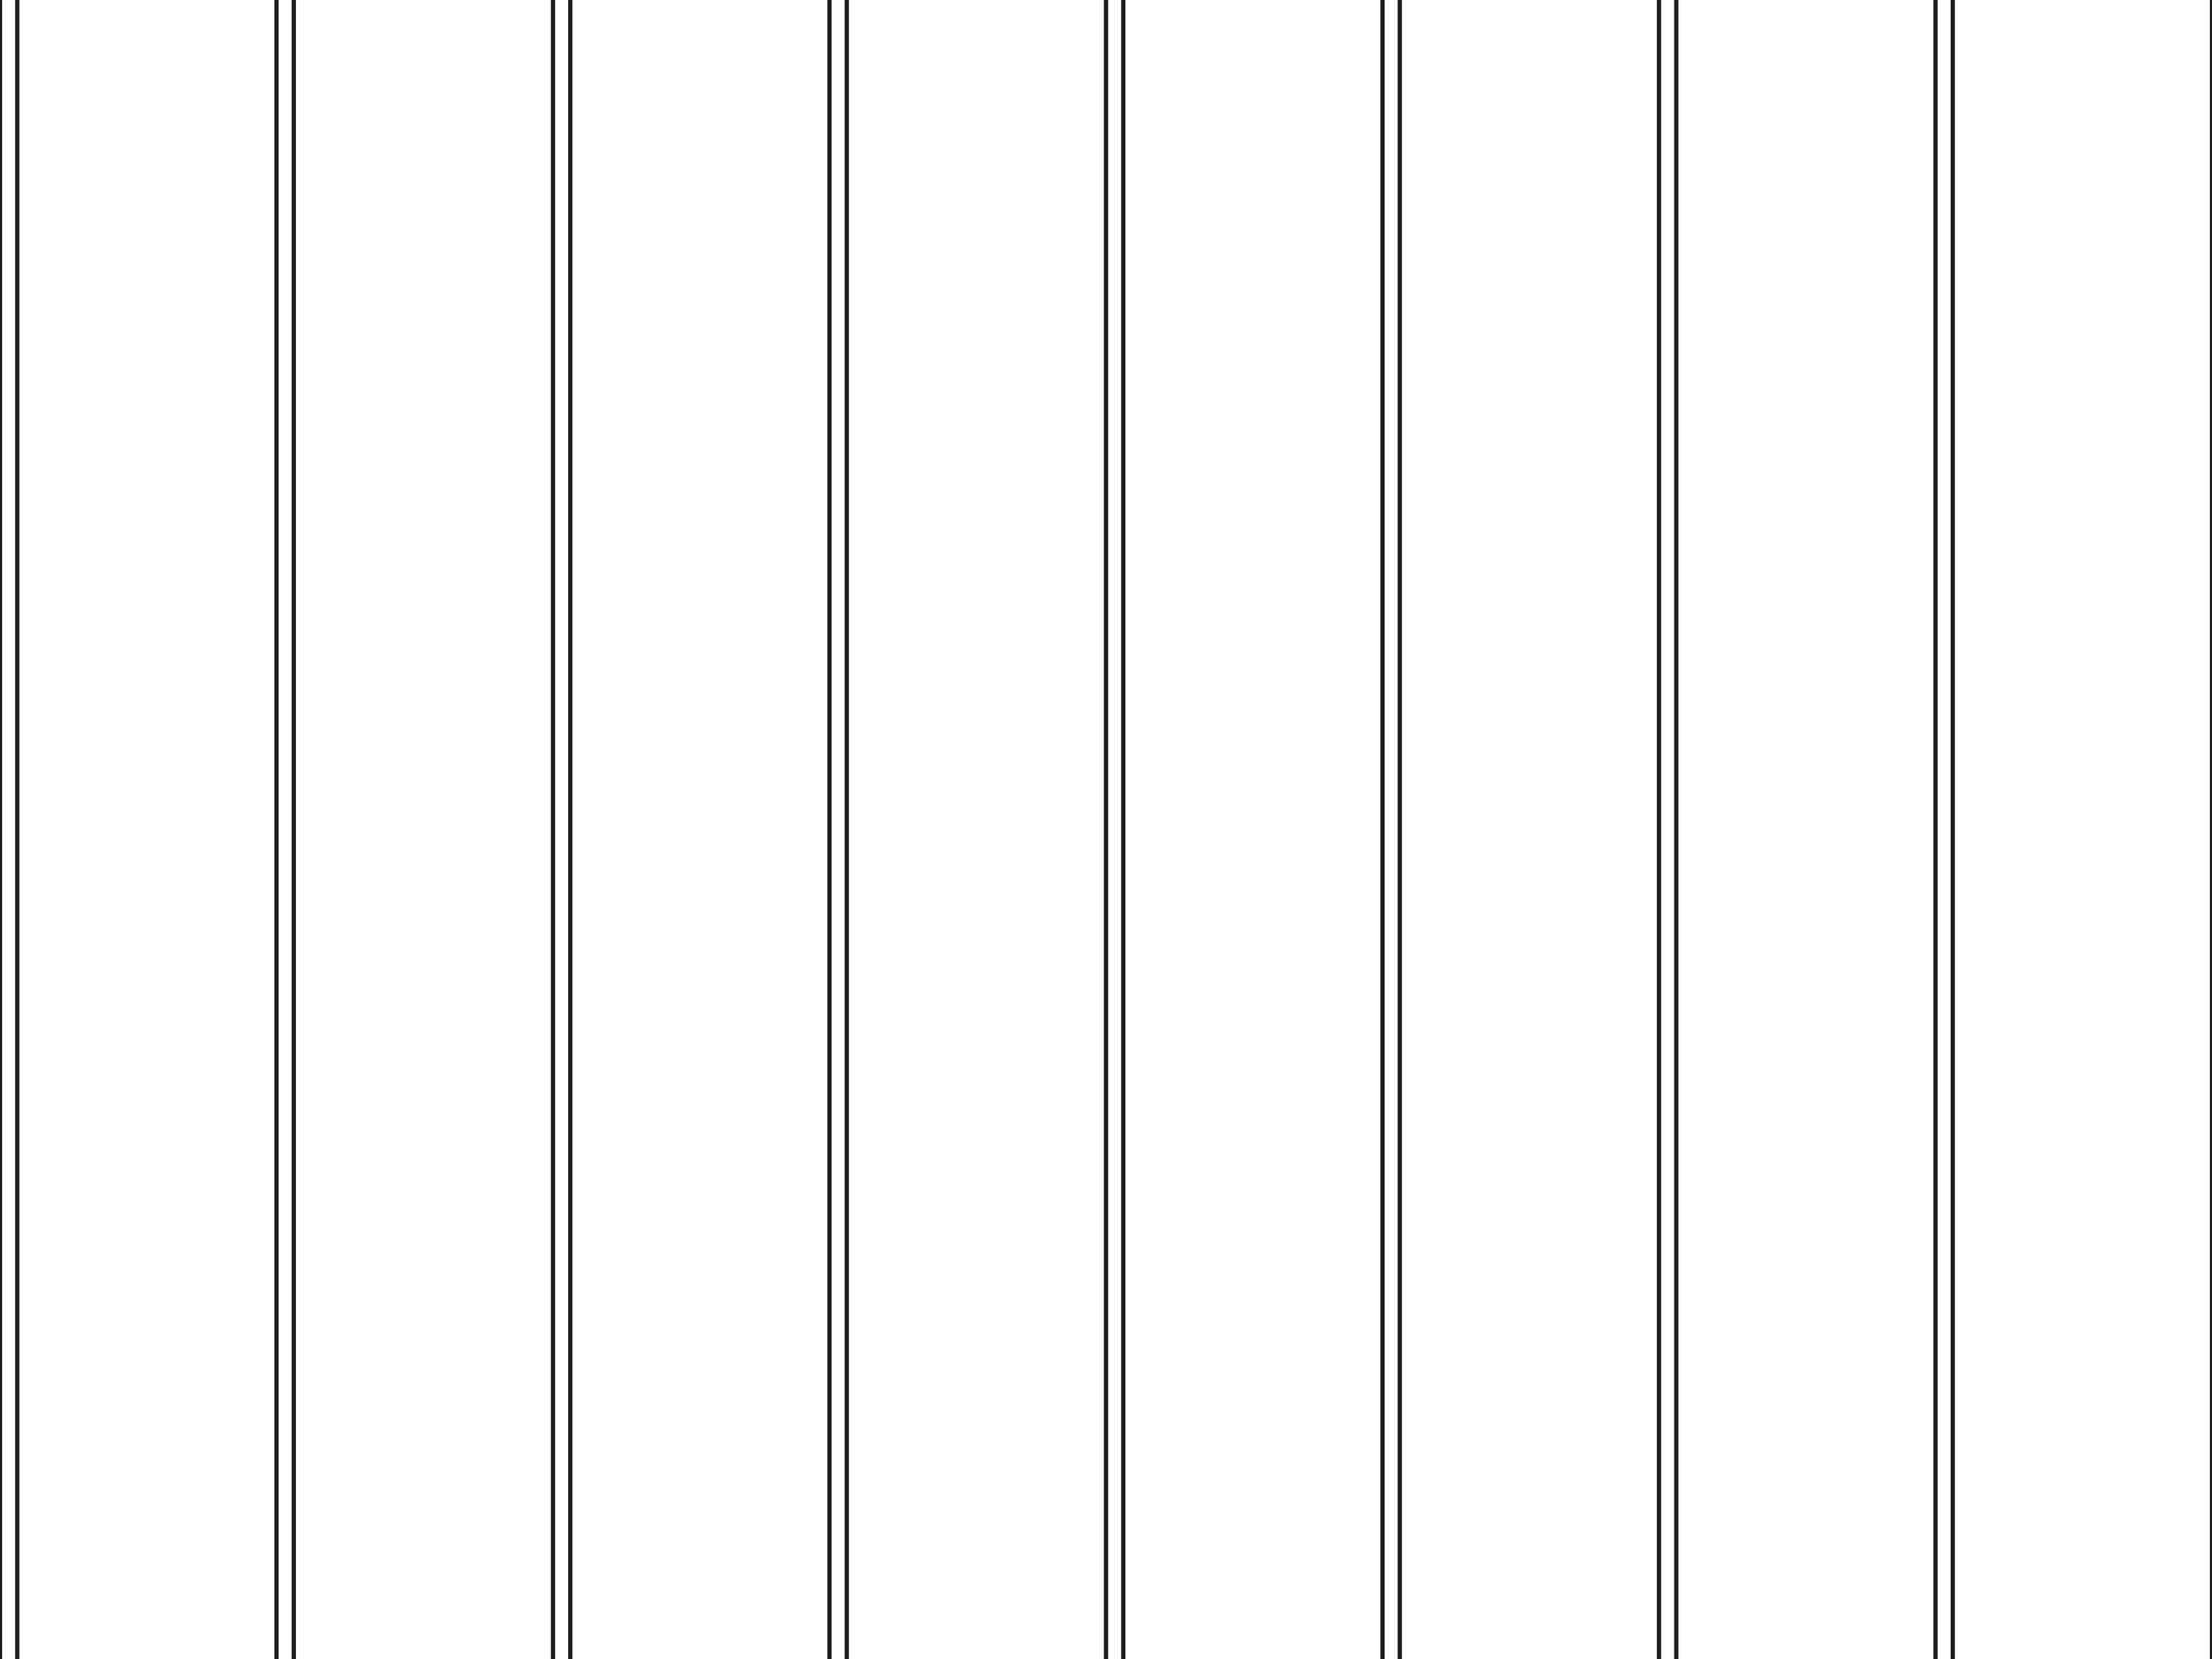 ModelStanding seam metal roof16 in panels
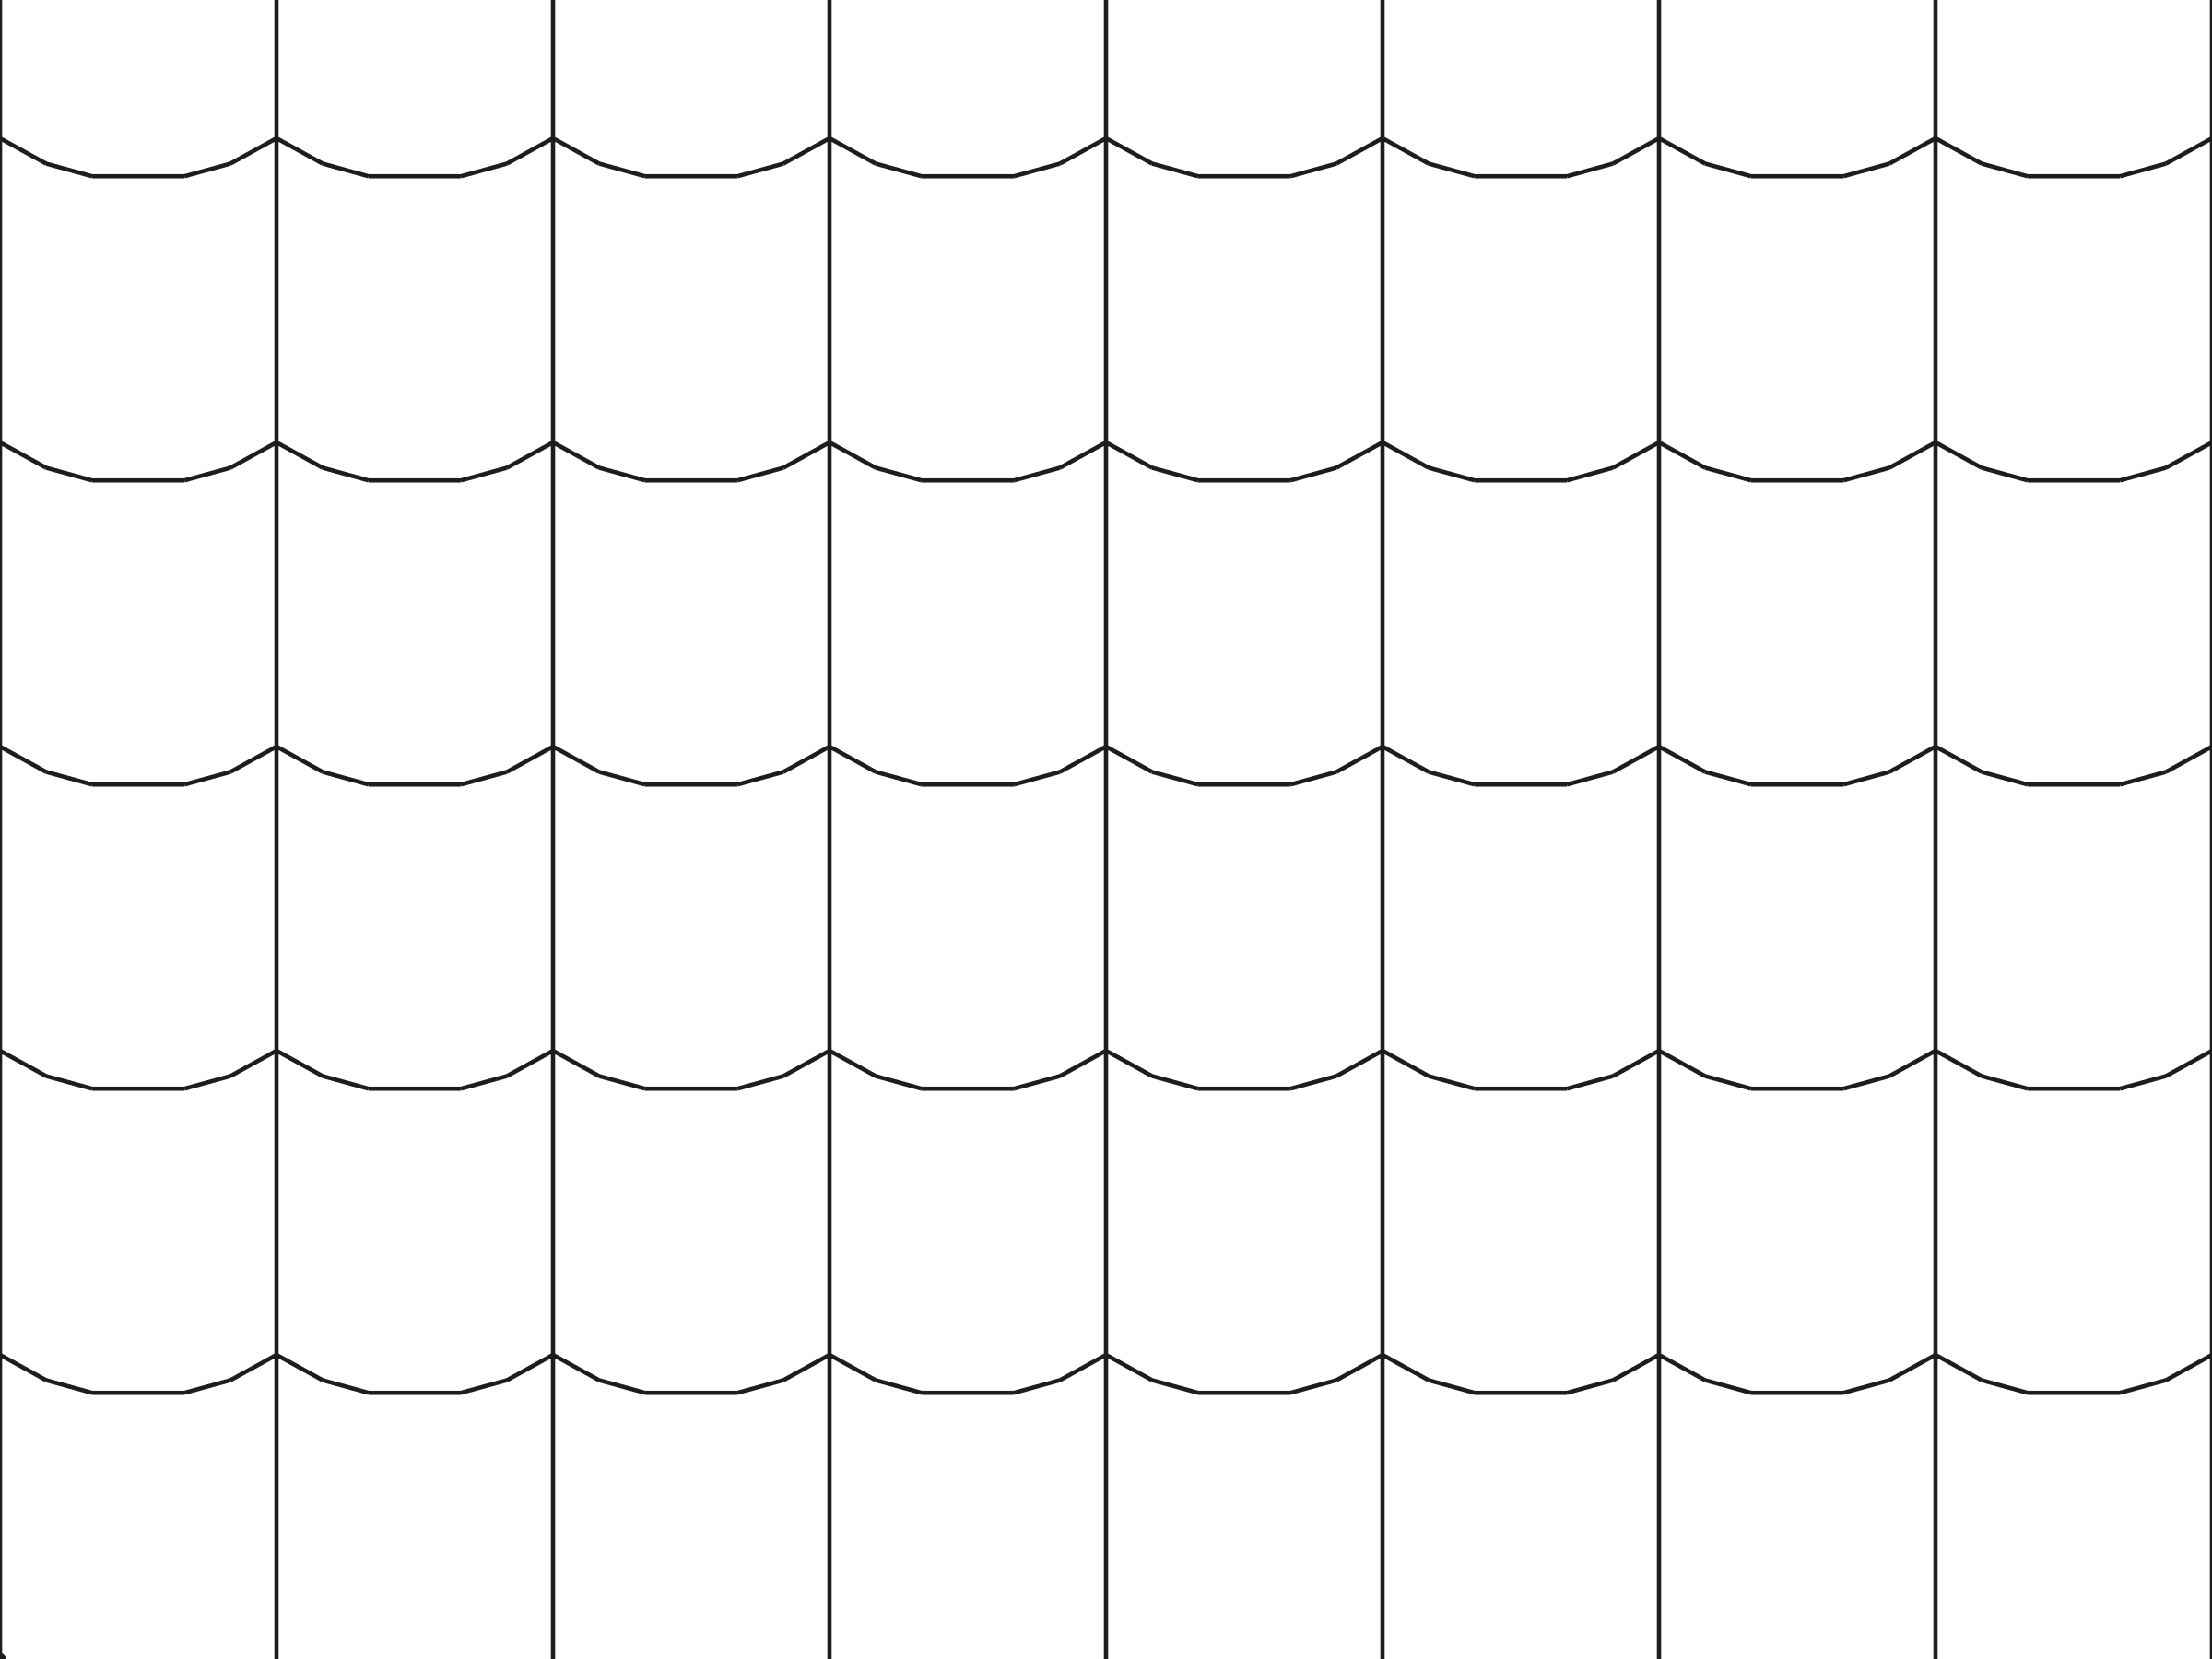 ModelClay roof tiles300 mm tiles, 330 mm gauge
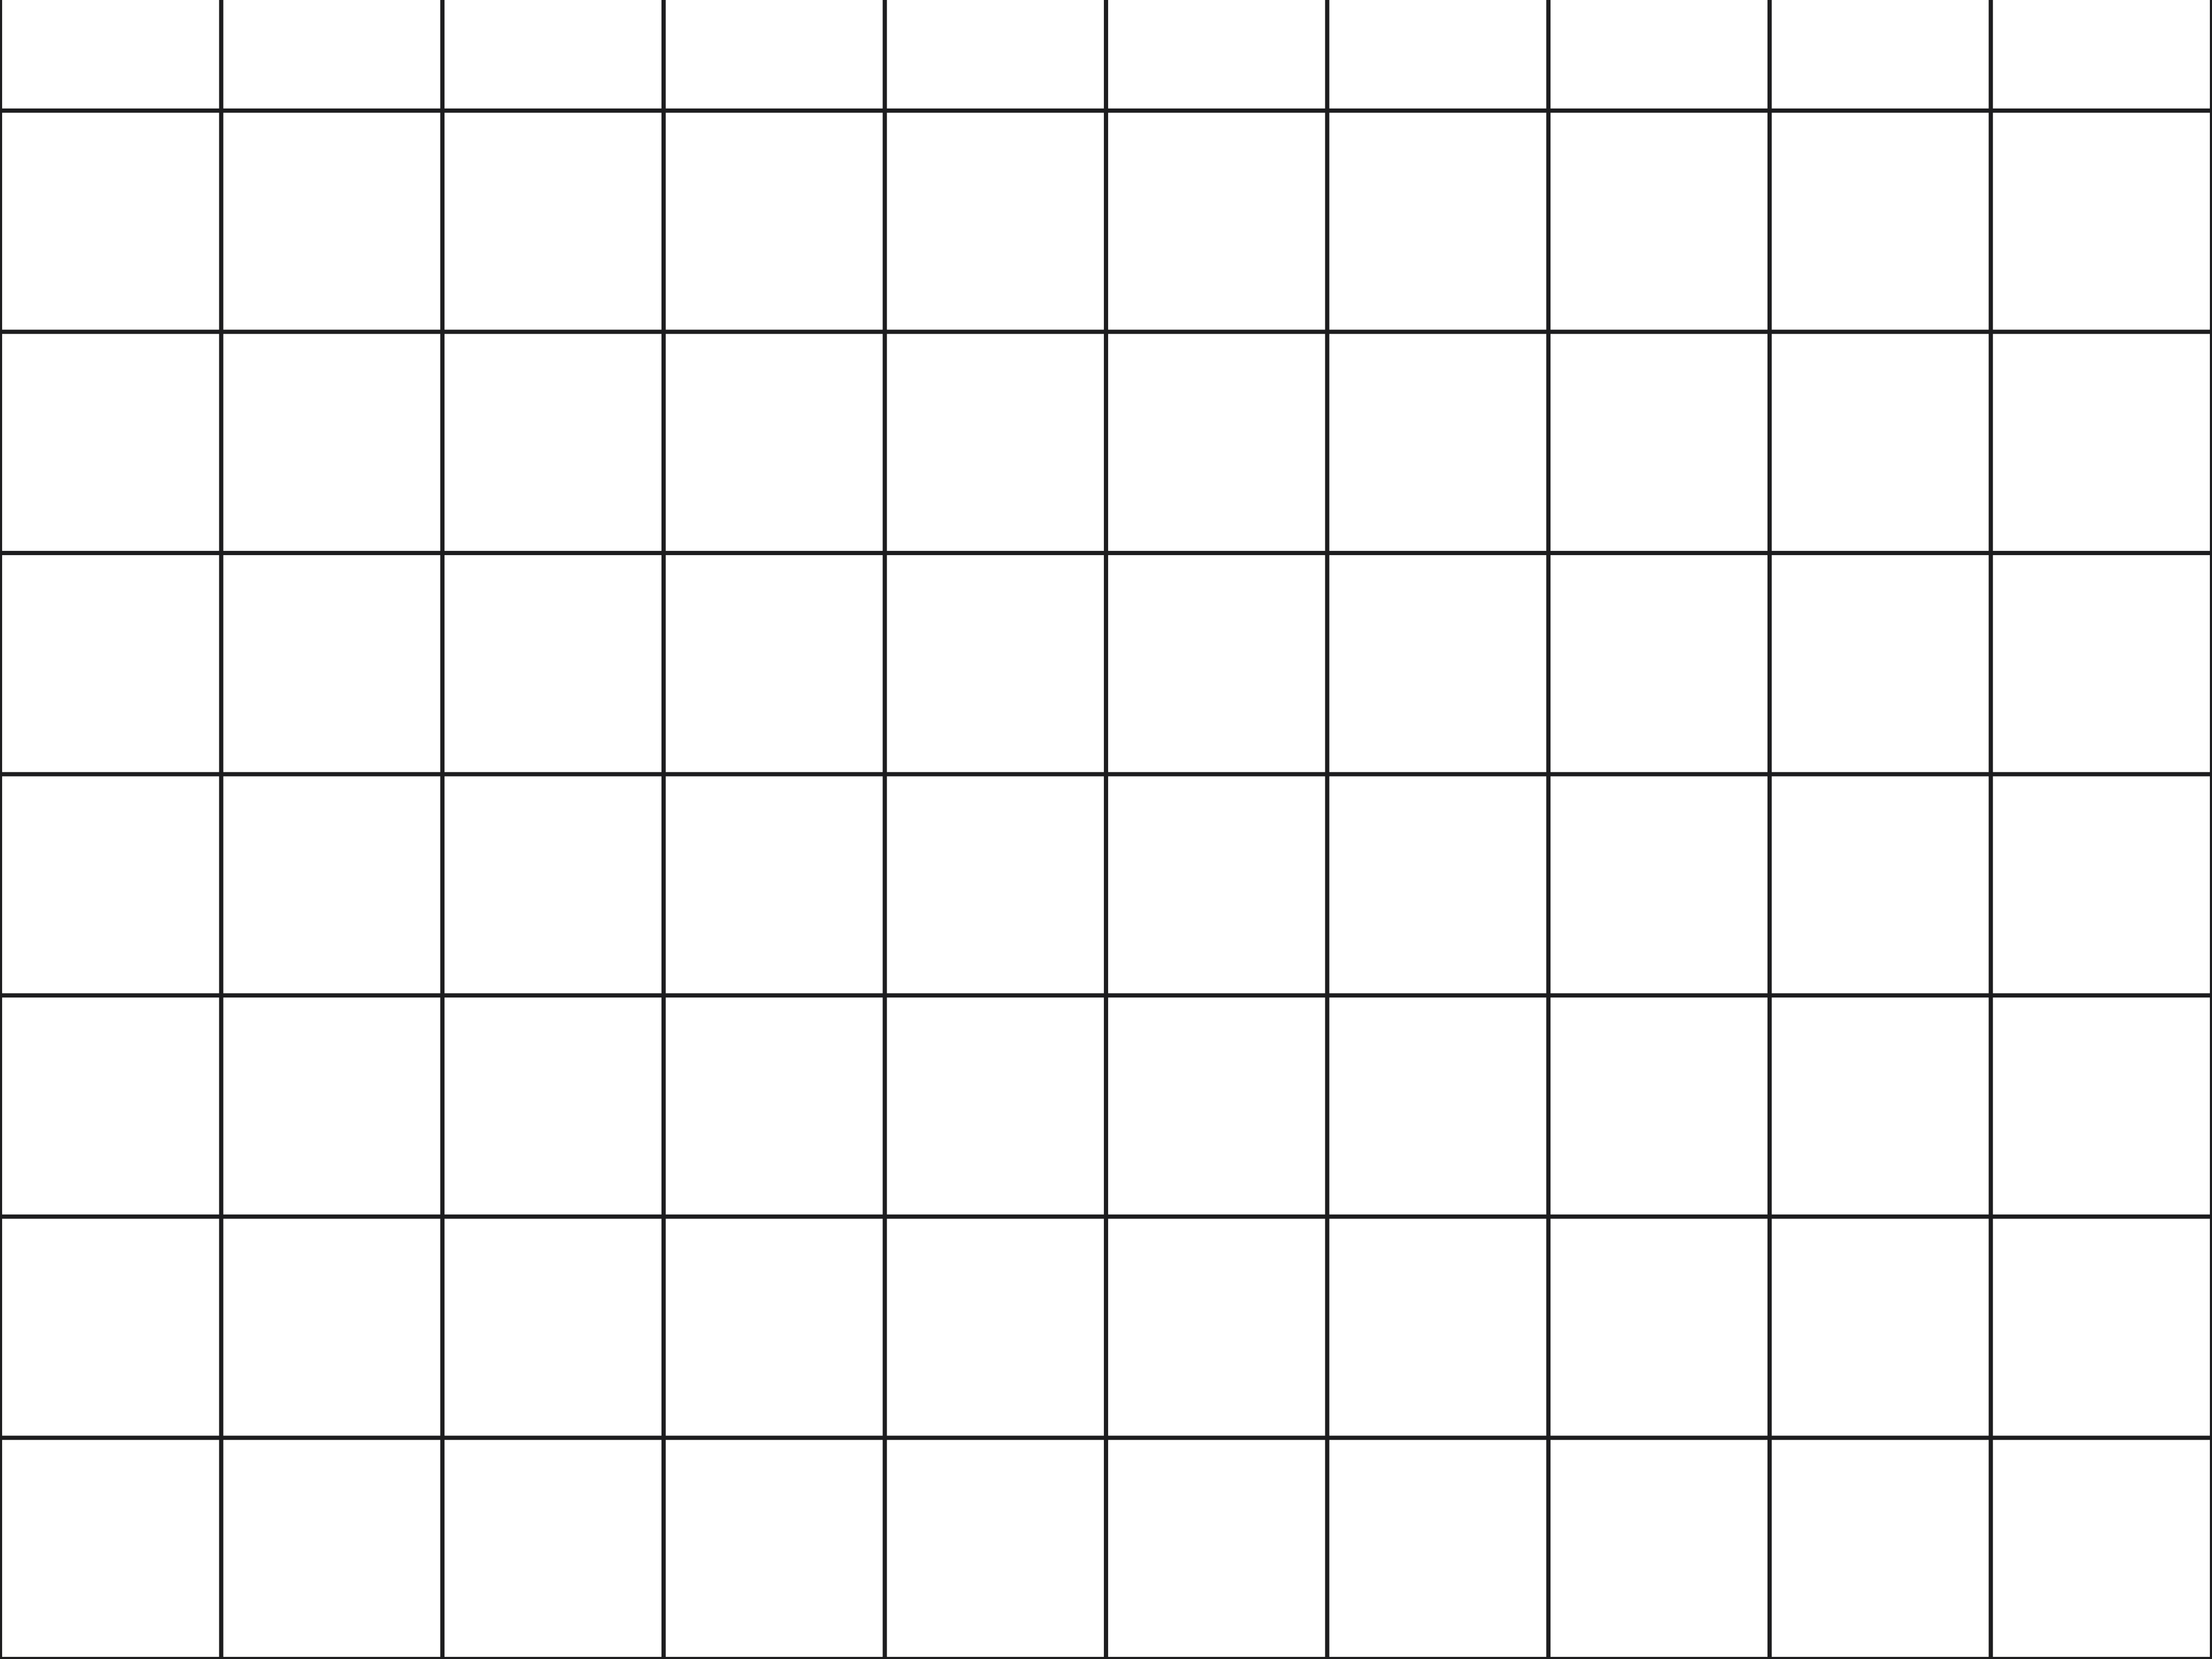 ModelCeiling grid, 2 × 2 ft24 × 24 in
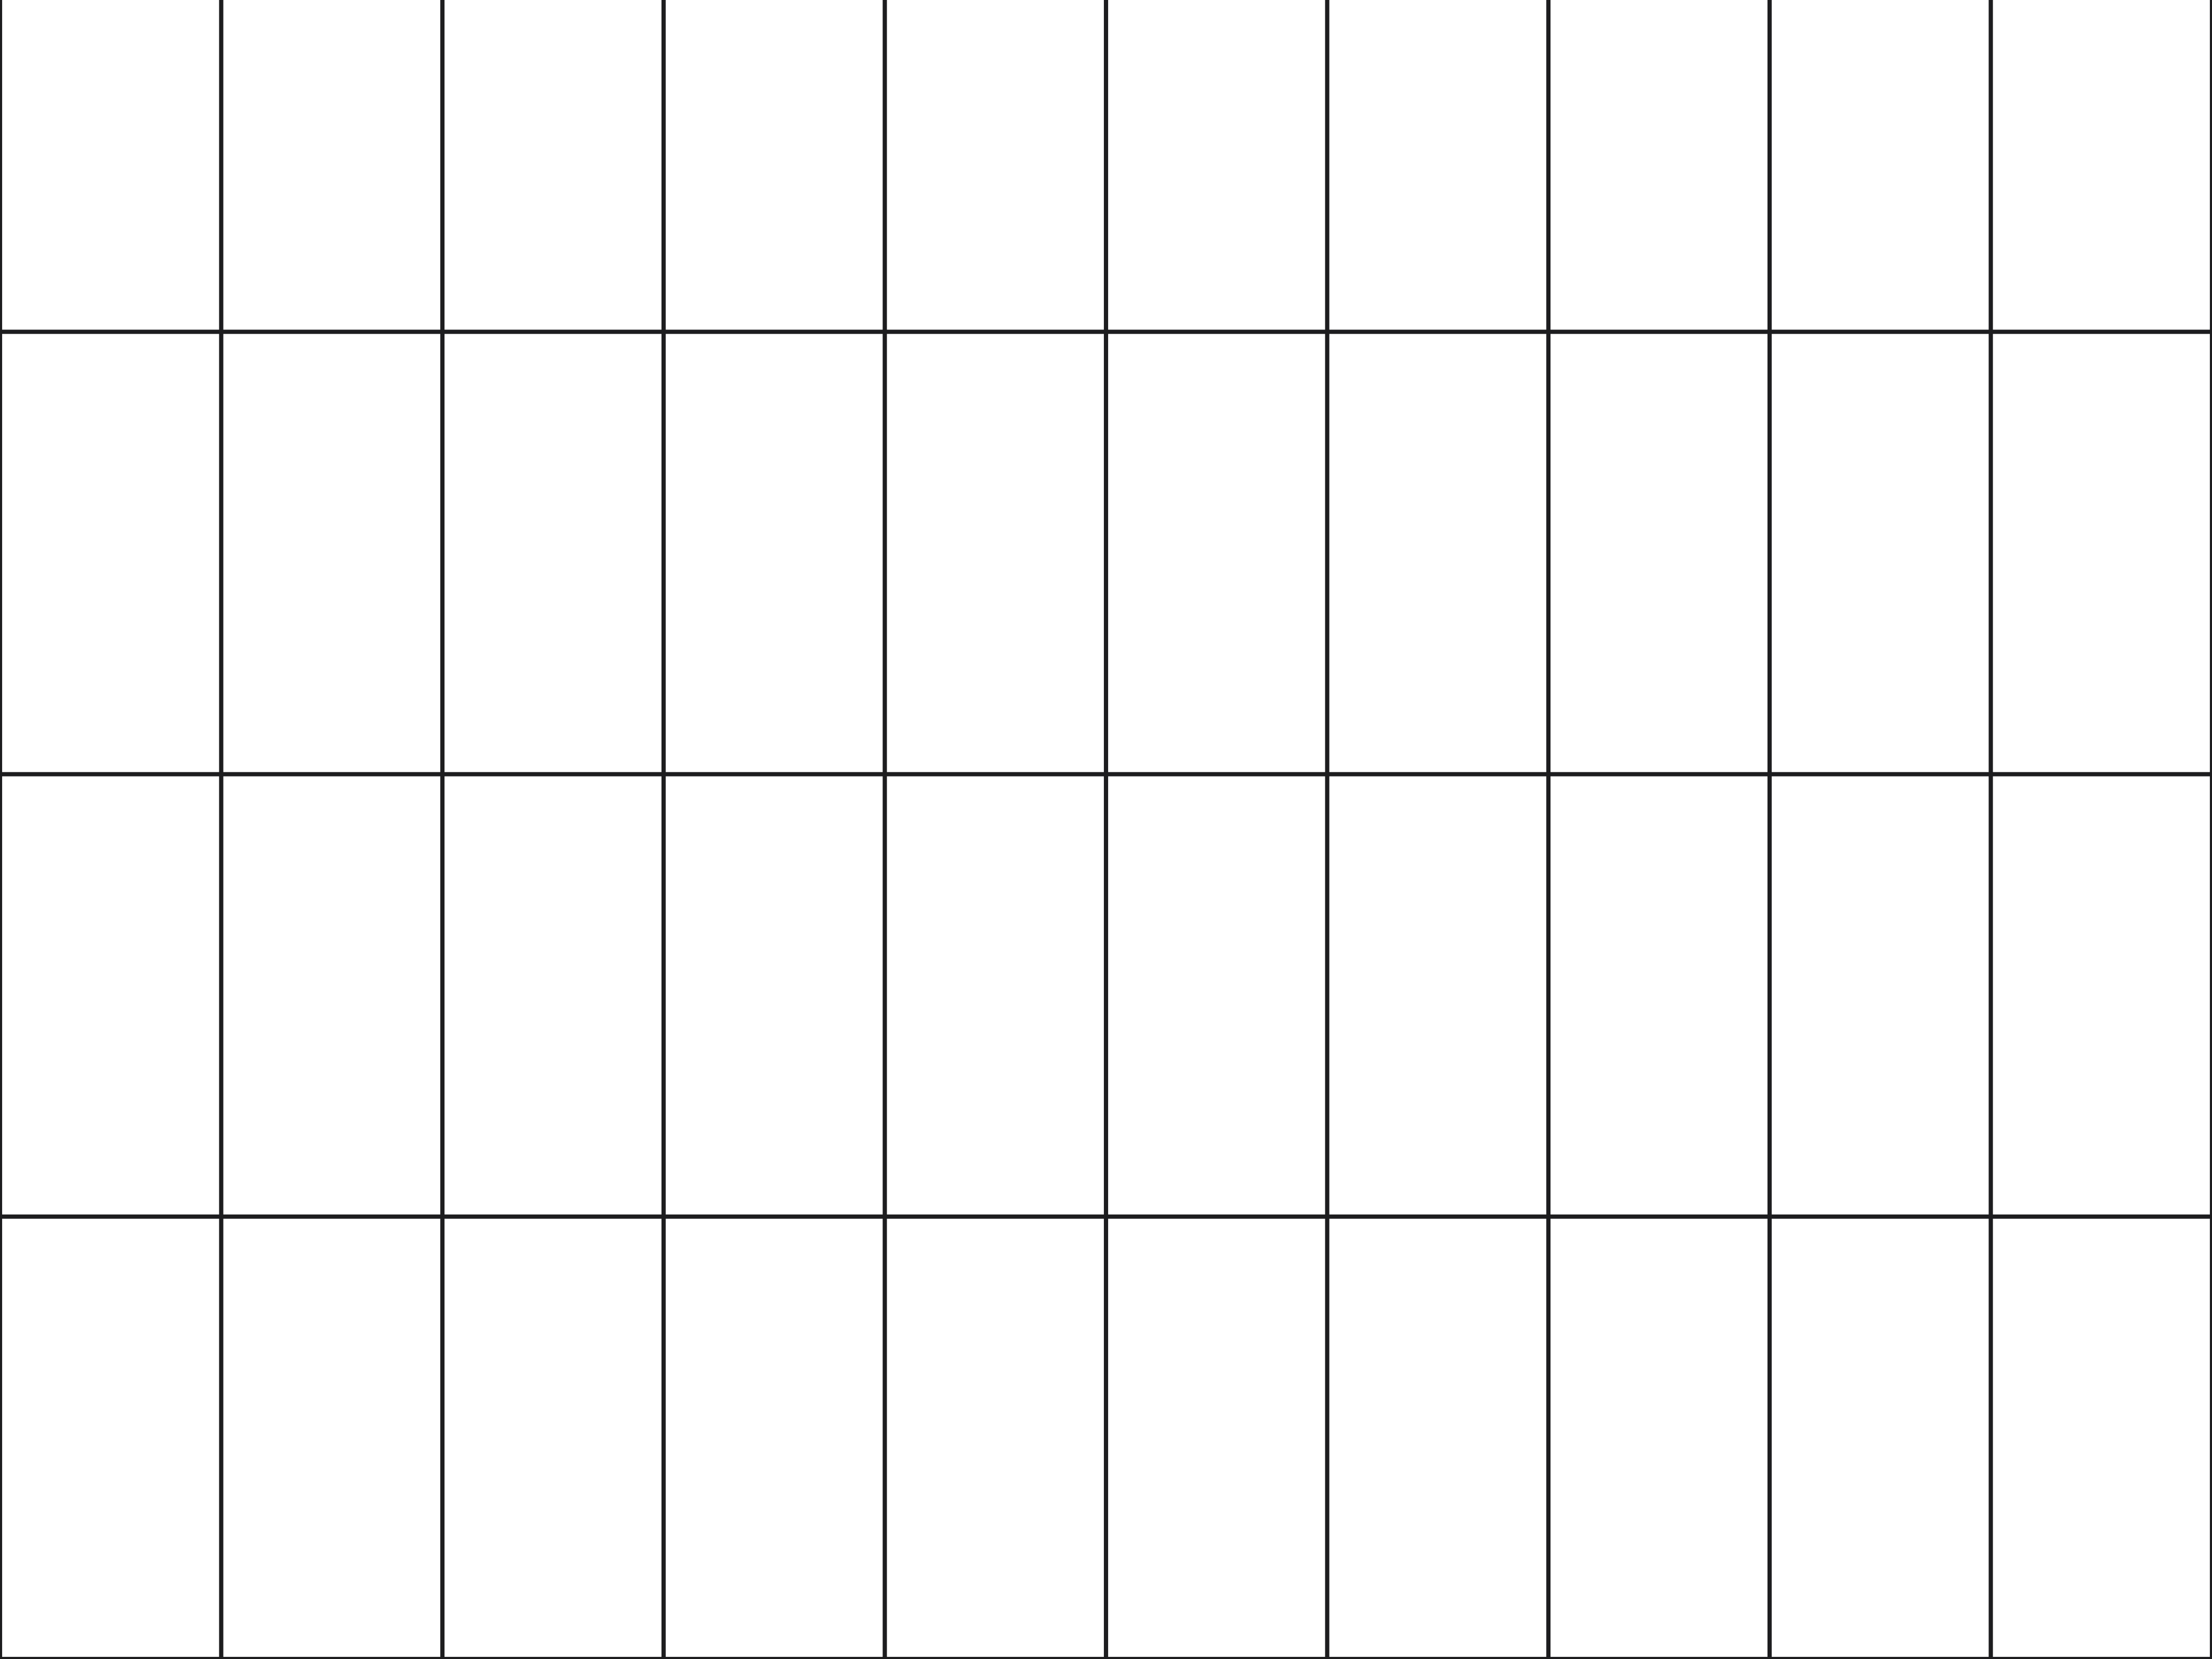 ModelCeiling grid, 2 × 4 ft24 × 48 in
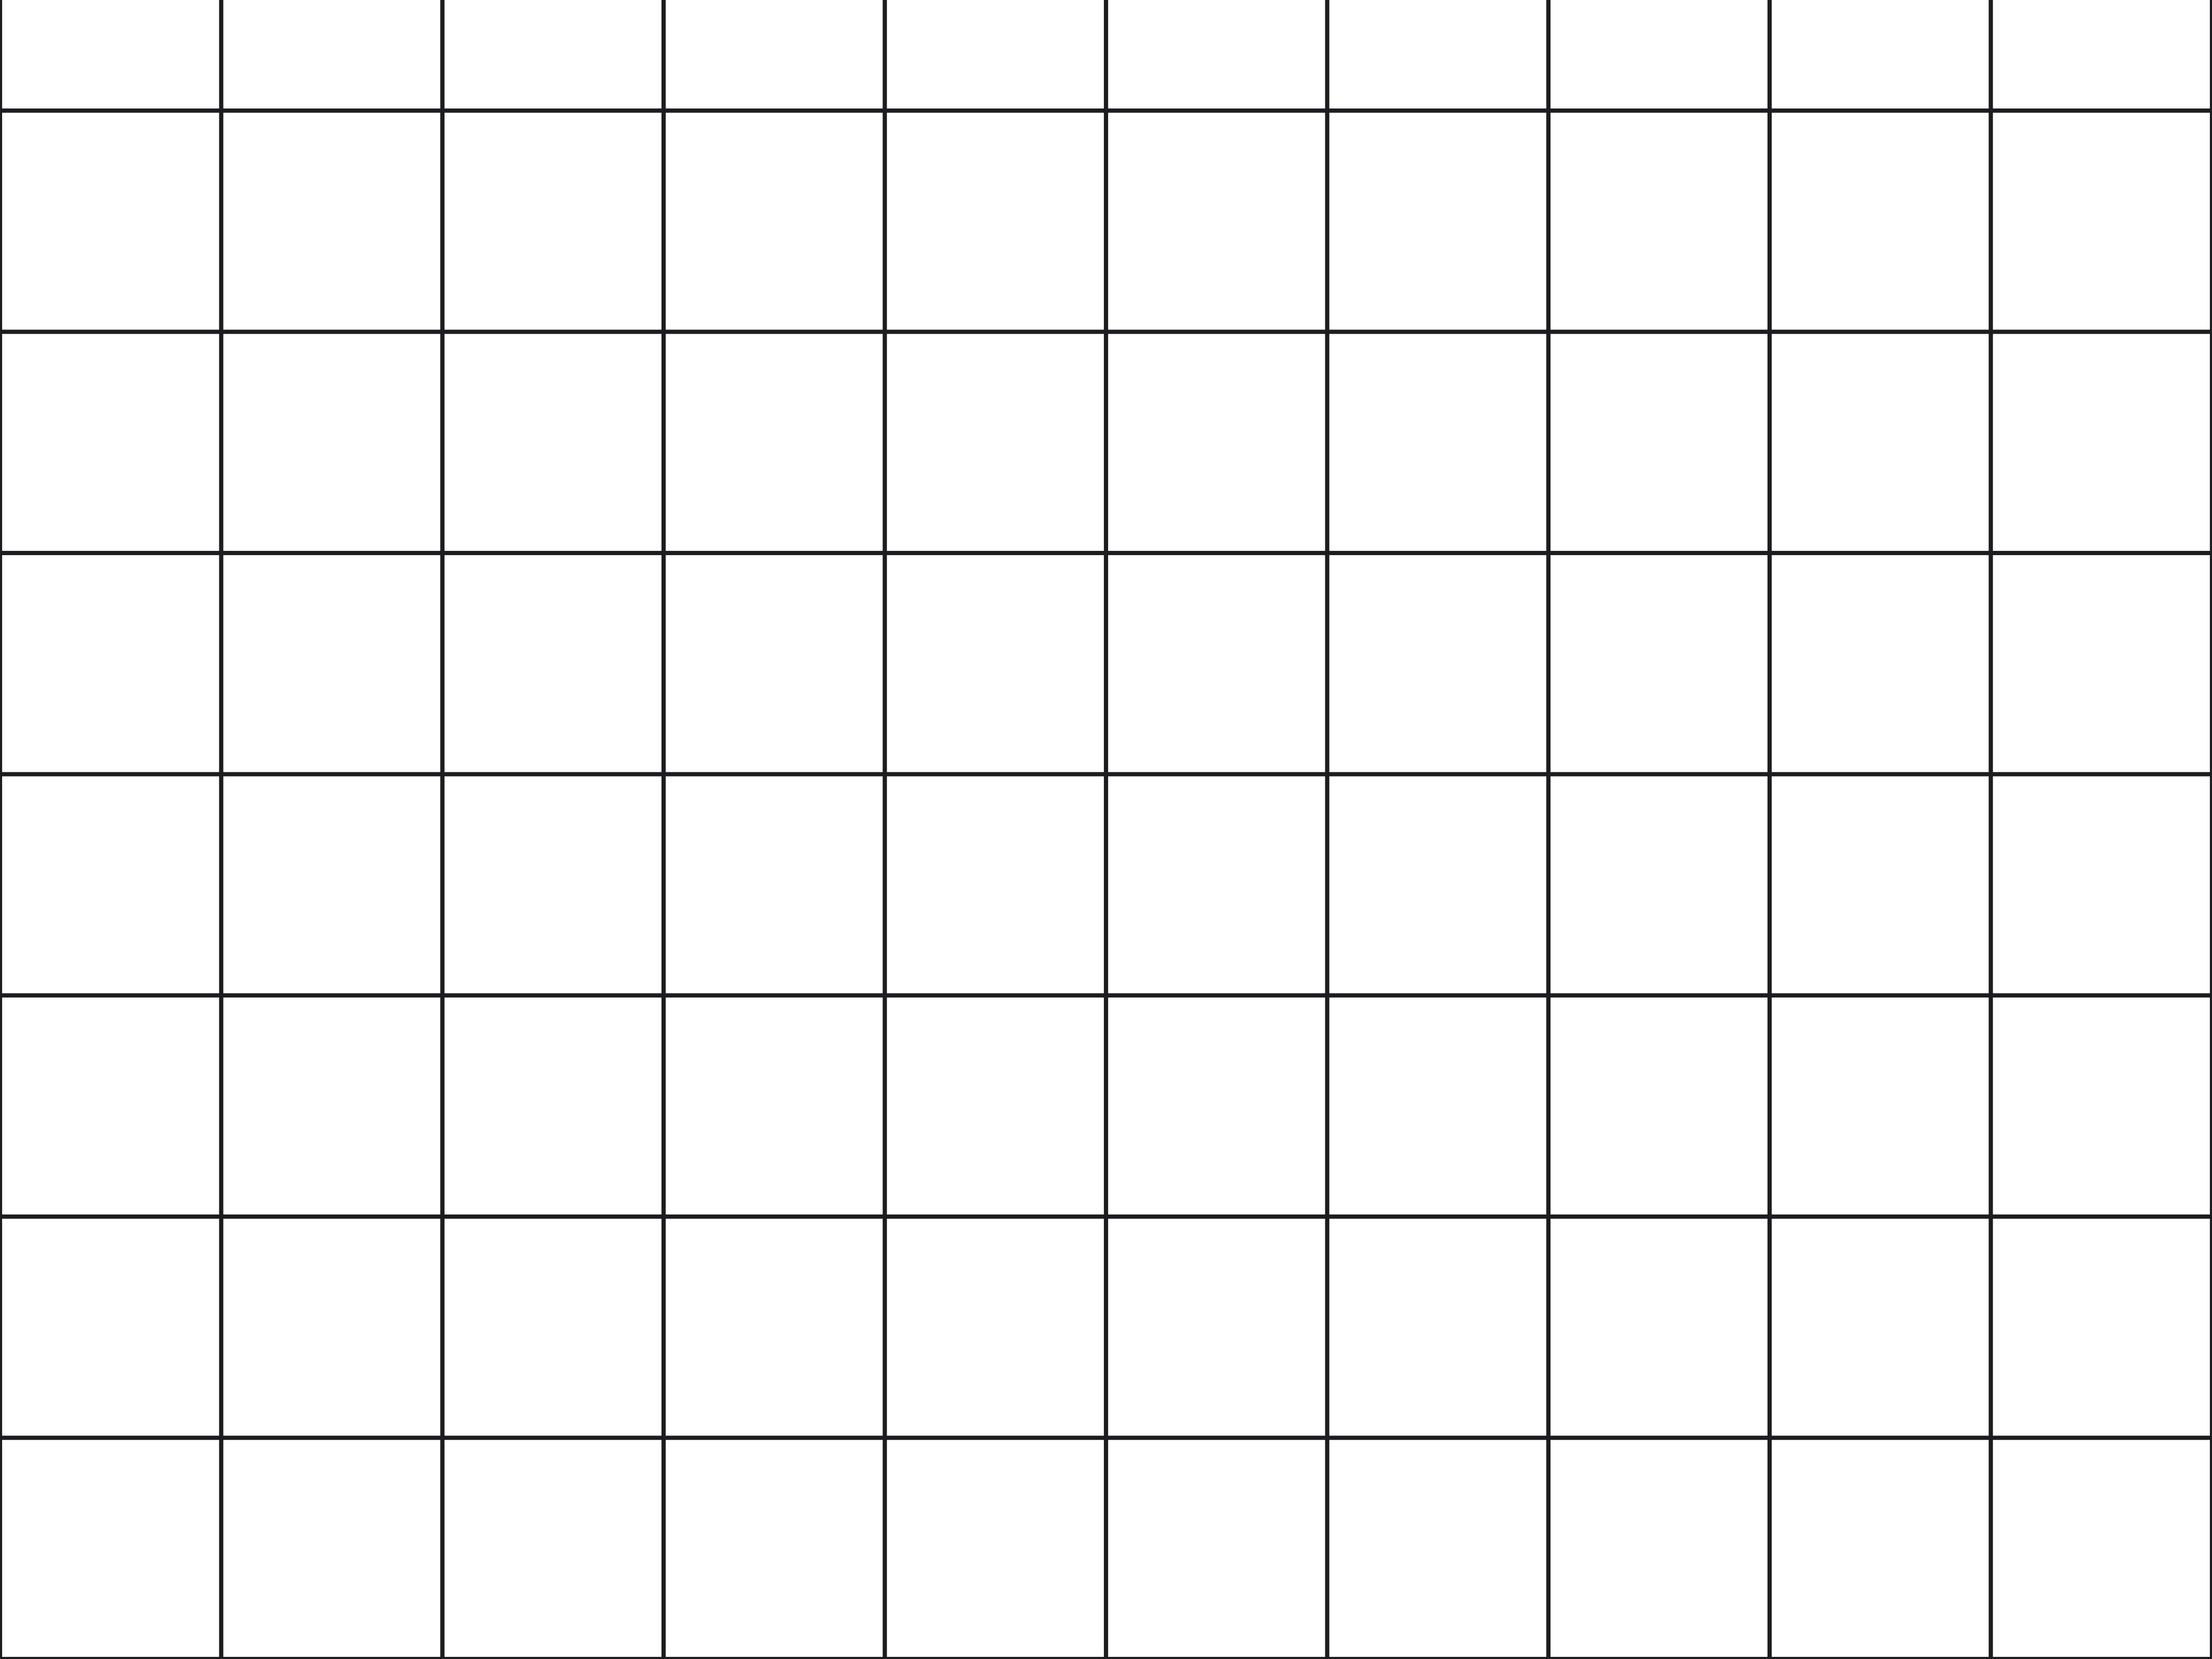 ModelCeiling grid, 600 × 600 mm600 × 600 mm
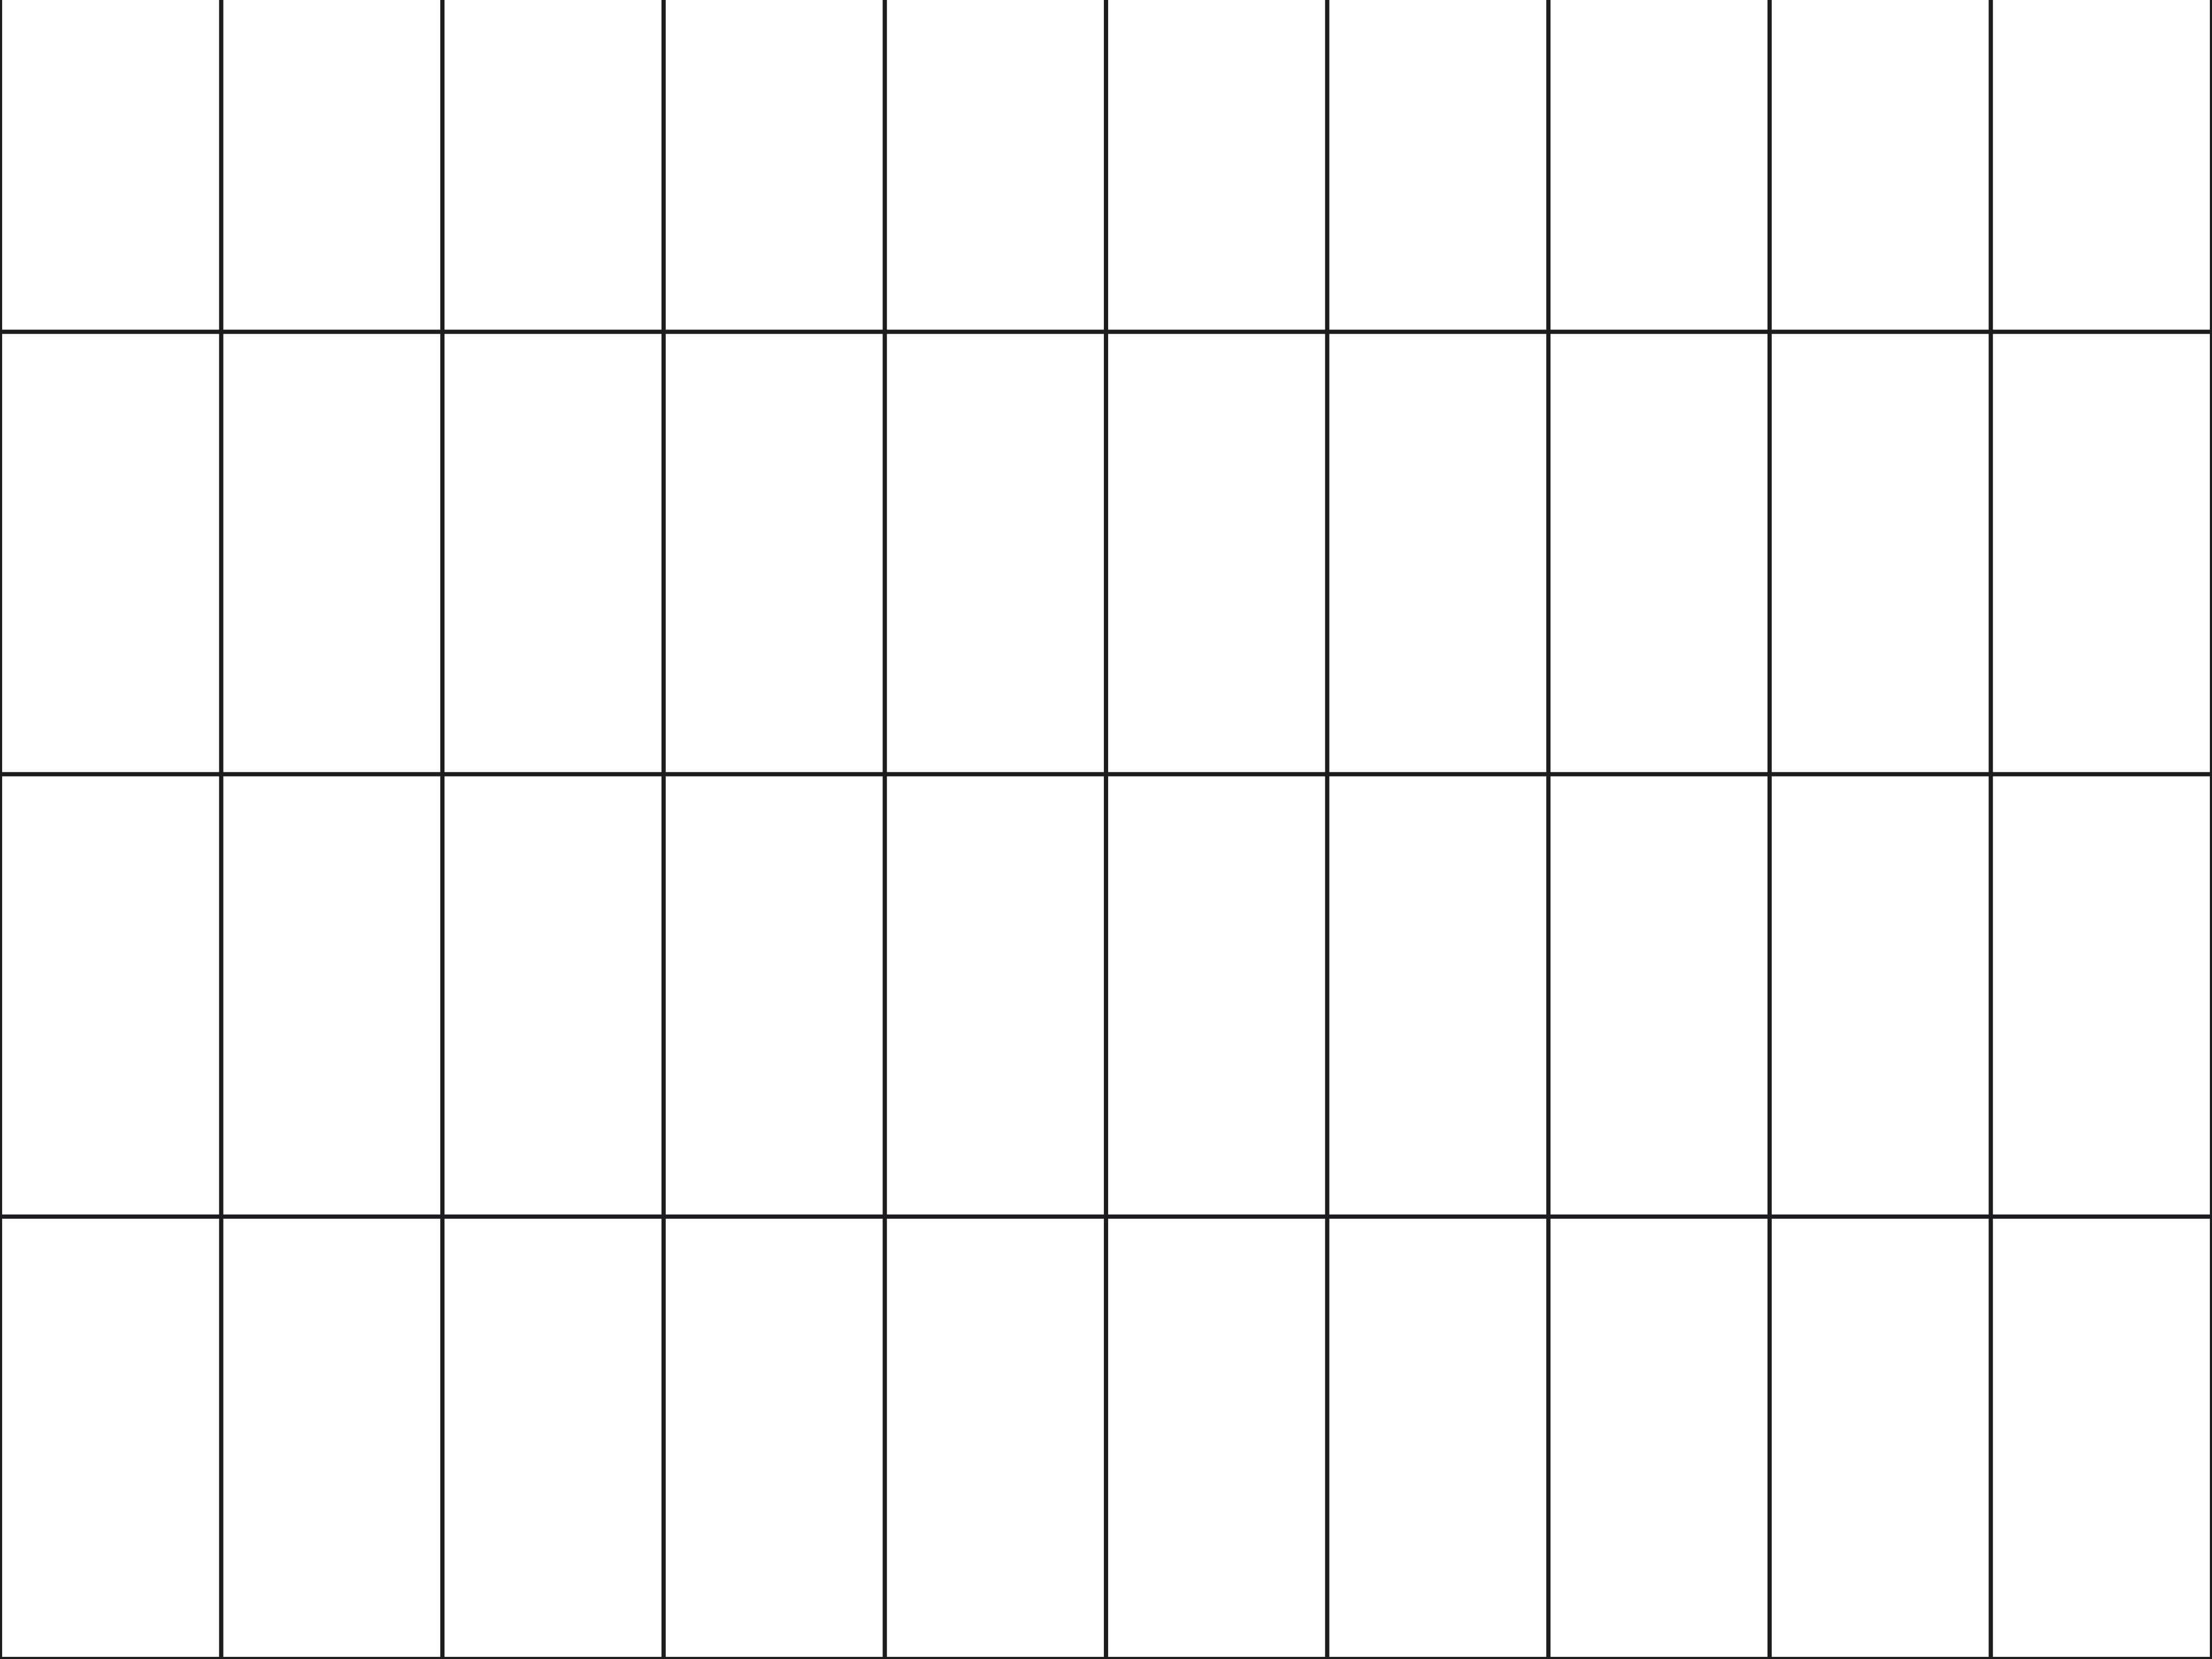 ModelCeiling grid, 600 × 1200 mm600 × 1200 mm
Before you hatch Model or drafting
A model pattern is a material at its real size; a drafting pattern is a symbol at a fixed size on paper. Every card says which one it is.
Model
Bricks, tiles, planks, ceiling grids
Drawn in real millimetres or inches. Hatch at scale 1 in a drawing in the same units; in Revit it scales with the view like the wall it sits on.
Drafting
Concrete, earth, insulation, section lines
Drawn for paper, ⅛ in between section lines as in ANSI31. In AutoCAD set the hatch scale to the drawing scale; in Revit it stays the same size on every sheet.
Load them in AutoCAD, Revit or Bluebeam
AutoCAD & LT
- 1Put the .pat files in a folder, for example C:\CAD\Hatch.
- 2OPTIONS, Files tab, Support File Search Path, Add, browse to the folder, OK.
- 3Type HATCH. The patterns are in the pattern gallery under their names; restart AutoCAD if they are not.
- 4Model patterns: scale 1. Drafting patterns: scale = drawing scale (50 for 1:50, 48 for ¼ in = 1 ft).
Revit & LT
- 1Manage, Additional Settings, Fill Patterns.
- 2Pick Drafting or Model to match the pattern's type, then New, Custom, Import.
- 3Choose the file (all-metric.pat from the ZIP lists every pattern at once) and the pattern.
- 4Import scale 1, OK. Use it in a material's surface or cut pattern, or a filled region.
Bluebeam Revu
- 1Draw any rectangle markup, then Properties toolbar, Hatch, Manage.
- 2Select a hatch pattern set and click Modify.
- 3Click Import AutoCAD Pattern and open the .pat file.
- 4OK to close the dialogs. The pattern is now in the Hatch list.
One file with every pattern: all-metric.pat · all-imperial.pat. Good for Revit's import dialog and for pasting into acad.pat; AutoCAD's Support File Search Path wants one pattern per file, which is how the ZIP and the buttons above give them.
Questions About roof & ceiling hatches
How do I use the ceiling grids in Revit?
Make a ceiling material whose surface pattern is CEILING-2X2 or CEILING-600X600 (Model), give the ceiling that material, then in the reflected ceiling plan Tab to a grid line and Align it to the wall or centre it in the room.
Which way does the 2 × 4 grid run?
The long side runs up the page. In AutoCAD give the hatch an angle of 90 to turn it; in Revit rotate the pattern on the ceiling.
Do the same files work in AutoCAD and Revit?
Yes. Each file is a standard .pat with Revit's ;%UNITS line at the top and a ;%TYPE line under the pattern name. AutoCAD reads both as comments, Revit reads them as settings, so one file serves both. There is a metric and an imperial copy of every pattern.
Should I take the metric or the imperial file?
The one in your drawing's units. A model pattern is drawn at real size: in a drawing in millimetres, the metric brick hatched at scale 1 shows real 215 × 65 mm bricks; in a drawing in inches the imperial file does the same. Revit reads the units from the file, so either works there.
More free hatch patterns: brick & block · concrete · stone · wood · tile · insulation · earth · metal & glass · all 69 patterns · free Revit families
Hatching is the last step Generate the building first
Describe the building and AIBIMTool drafts the program, floor plans and an IFC4 model for Revit or Archicad.
Start free now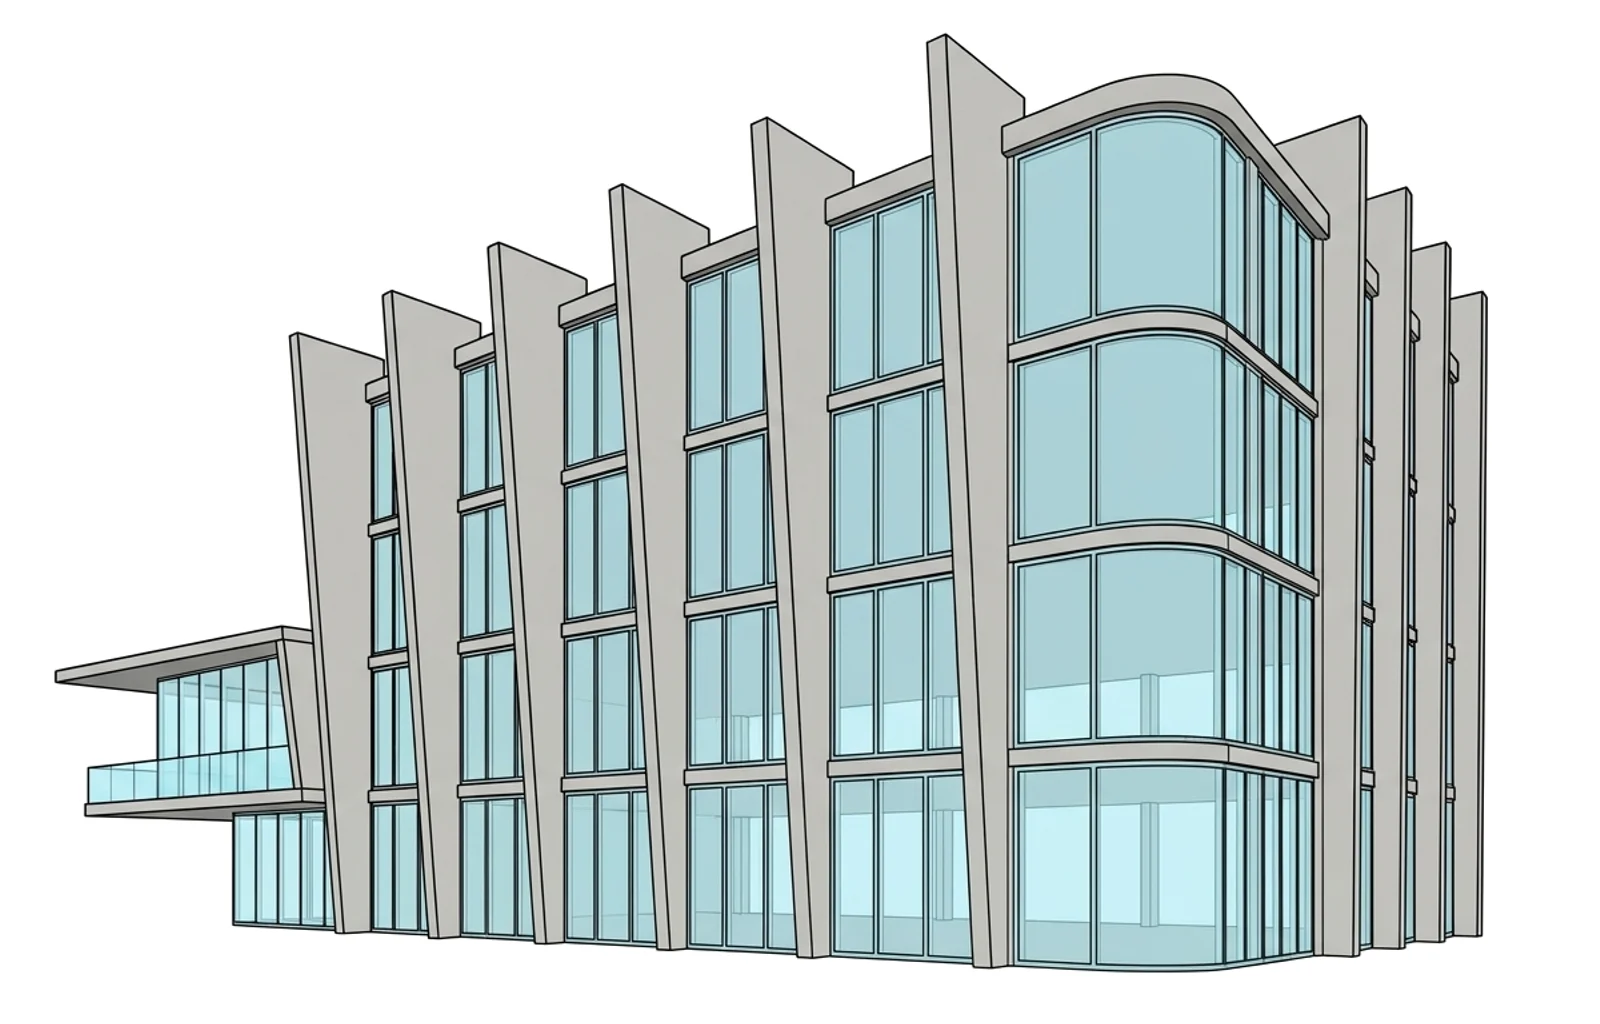
AutoCAD and Revit are trademarks of Autodesk, Inc.; Bluebeam and Revu of Bluebeam, Inc. AIBIMTool is not affiliated with or endorsed by either.